

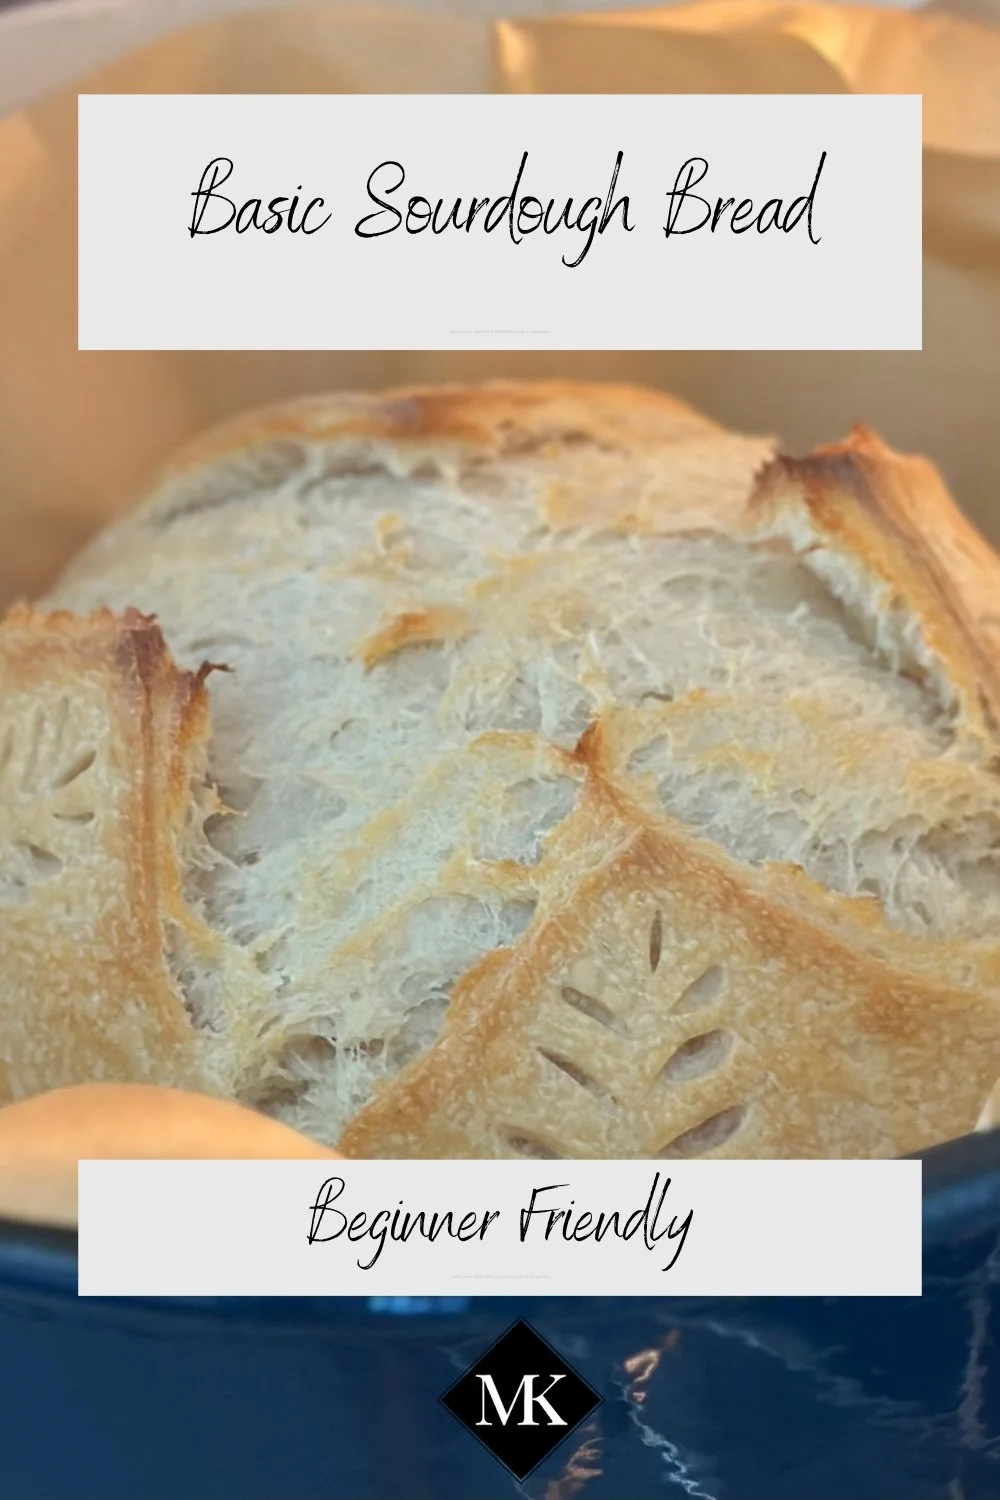
Basic Sourdough Bread
Bread is the one thing I can’t seem to give up. Sweets, as much as I love them, I can turn my back on but bread. Oh boy, I just can’t give it up. From childhood, sourdough bread was my favorite. Toasted with a thick spread of butter and some apricot jelly was my all time favorite.
I never dreamed of baking my own sourdough bread as the entire sourdough starter process was incredibly intimidating to me. One afternoon, while watching a video from Ballerina Farms I was completely inspired to make my own sourdough bread. Enter a 7 month sourdough starter trial and error process. I was about to throw in the towel when a dear friend from California sent some of her starter to me. She actually walked through the entire feeding and discarding process with me and I was FINALLY able to make my own sourdough bread!
If you don’t want to go through the starter process, Ballerina Farms sells dehydrated starter but I have never worked with it before so I can’t guide you on it. I will say, I know many who have purchased fresh sourdough starter from King Arthur Baking Company and swear by it.
Below is the recipe I have tweaked and used for baking homemade sourdough bread. If you try it, please let me know how you like it and if you tweaked anything to suit your needs. Hope you enjoy it!

Homemade Sourdough Bread
*Preheat oven to 450 degrees Fahrenheit with a dutch oven inside.
Ingredients:
150g Active sourdough starter
275g Room temperature water
10g Sea Salt Flakes (I use Maldon)
28g Extra Virgin Olive Oil (I use this one from Bertoli)
500g Bread flour (I use King Arthur Bread Flour)
Directions:
In a bowl, measure out 150g active sourdough starter. I use this scale and it works just fine. Add the 275g of water and stir until the starter has dissolved.
Zero out the scale and add in the sea salt flakes and olive oil. I do NOT mix yet after this step.
Add the 500g of bread flour. Mix until the flour is incorporated and there are no more dry areas of the dough. I usually start mixing with a Danish dough whisk then use my hands to really get everything incorporated well.
Dampen a kitchen towel and place on top of bowl. Wait 30 minutes and then start the stretch and fold process.
Stretch and folds allow the gluten in the dough to form so this is a key part of the sourdough bread process. Doing 4 sets of stretch and folds about 30 minutes apart works well. Do I do mine every 30 minutes on the dot? Absolutely not. I personally think as long as you are stretching and manipulating the dough fairly consistently for an hour and a half or so, it should be ok.
Once you have completed your stretch and folds, cover your dough with a damp kitchen towel or grease a piece of Saran Wrap and cover it - especially if I am leaving it out overnight so the dough doesn’t dry out.
When the dough has doubled in size, it’s time to shape it. Turn your bowl over and let the dough naturally fall unto the counter. You really shouldn’t need flour on the counter. If anything, putting flour on the counter can potentially make it hard to shape the dough as it will slide around. I sometimes use a plastic scraper to loosen the dough from the edges of the bowl.
Gently shape your dough into a rectangle then fold one long side into the middle then the other. Then start with one of the shorter ends and roll the dough tightly. At this point, you will want to push it away, then drag it back towards you and continue this movement until you form a tight “ball”.
Place your shaped dough upside down into a banneton with the dough’s seam facing up. From this point, traditional recipes call for placing your dough in the refrigerator for the second rise, but in all honesty, I skip this part because I don’t like to wait and my bread comes out just fine.
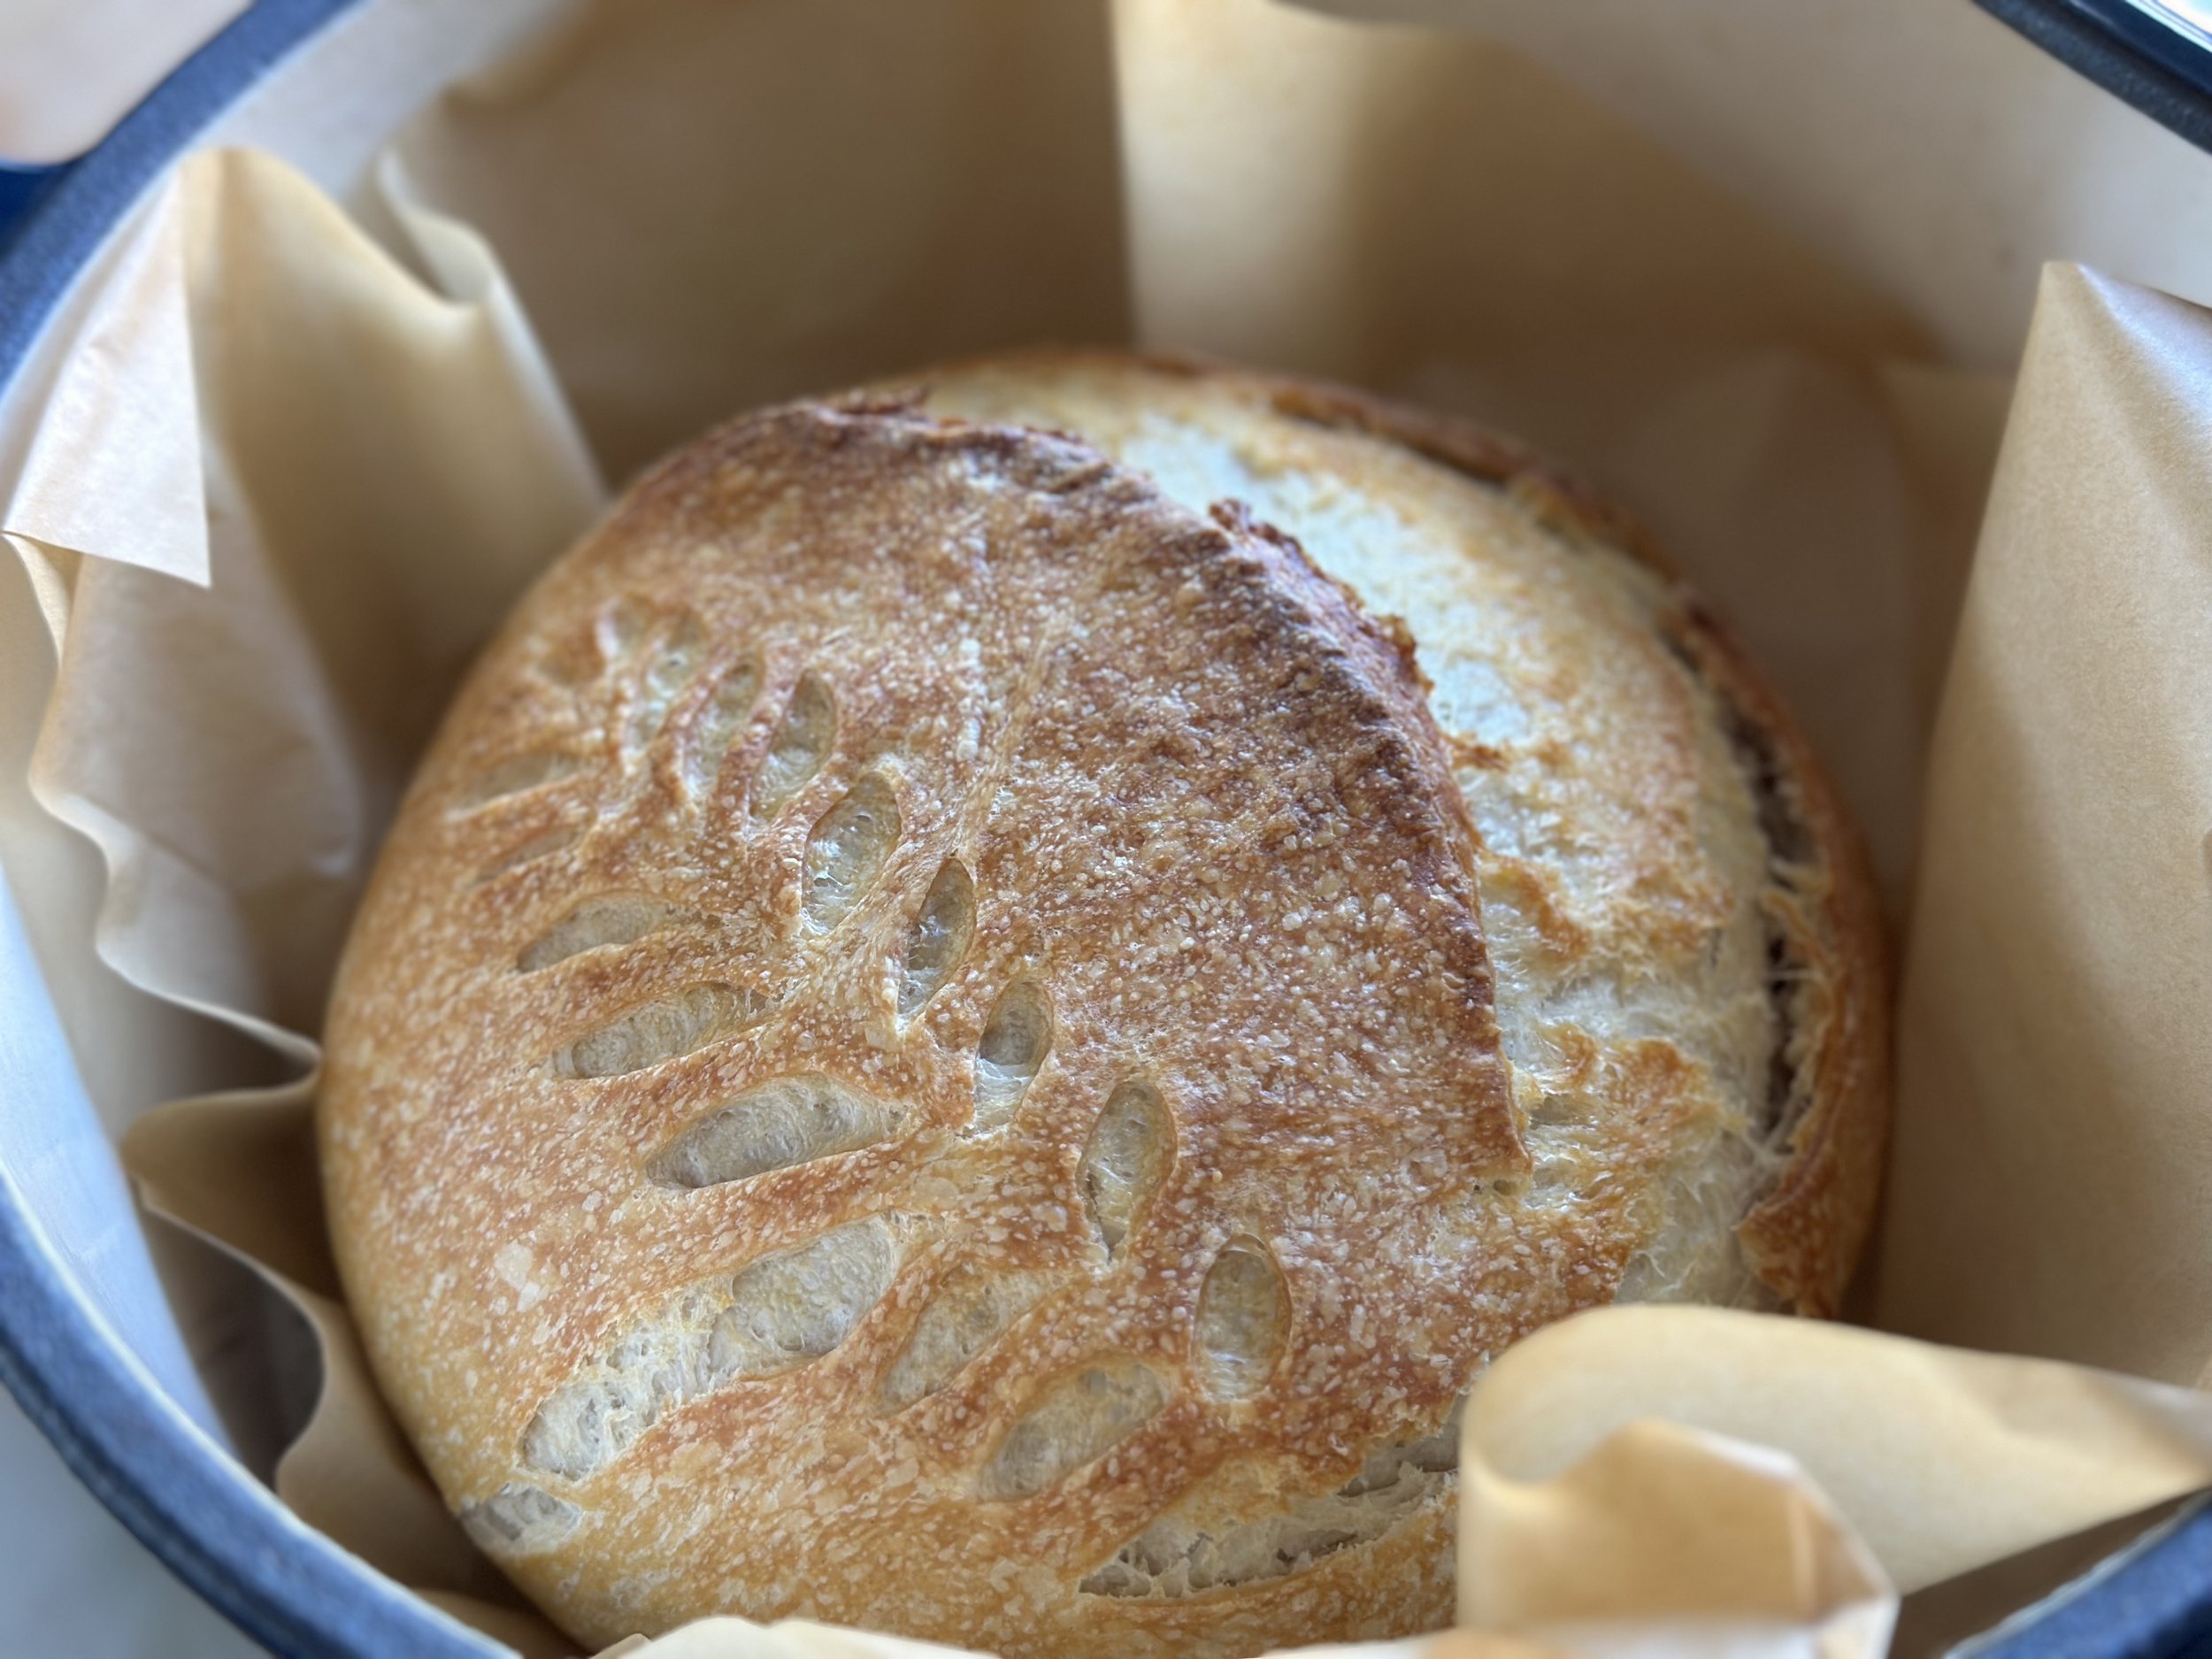
When I’m ready to bake, I flip my dough onto a piece of parchment paper. I use this lame to score my bread to allow steam to escape. This is such a fun part as you can get creative. I like to score one long line then do a “leaf” type design. There are no limits as to how you can score the dough.
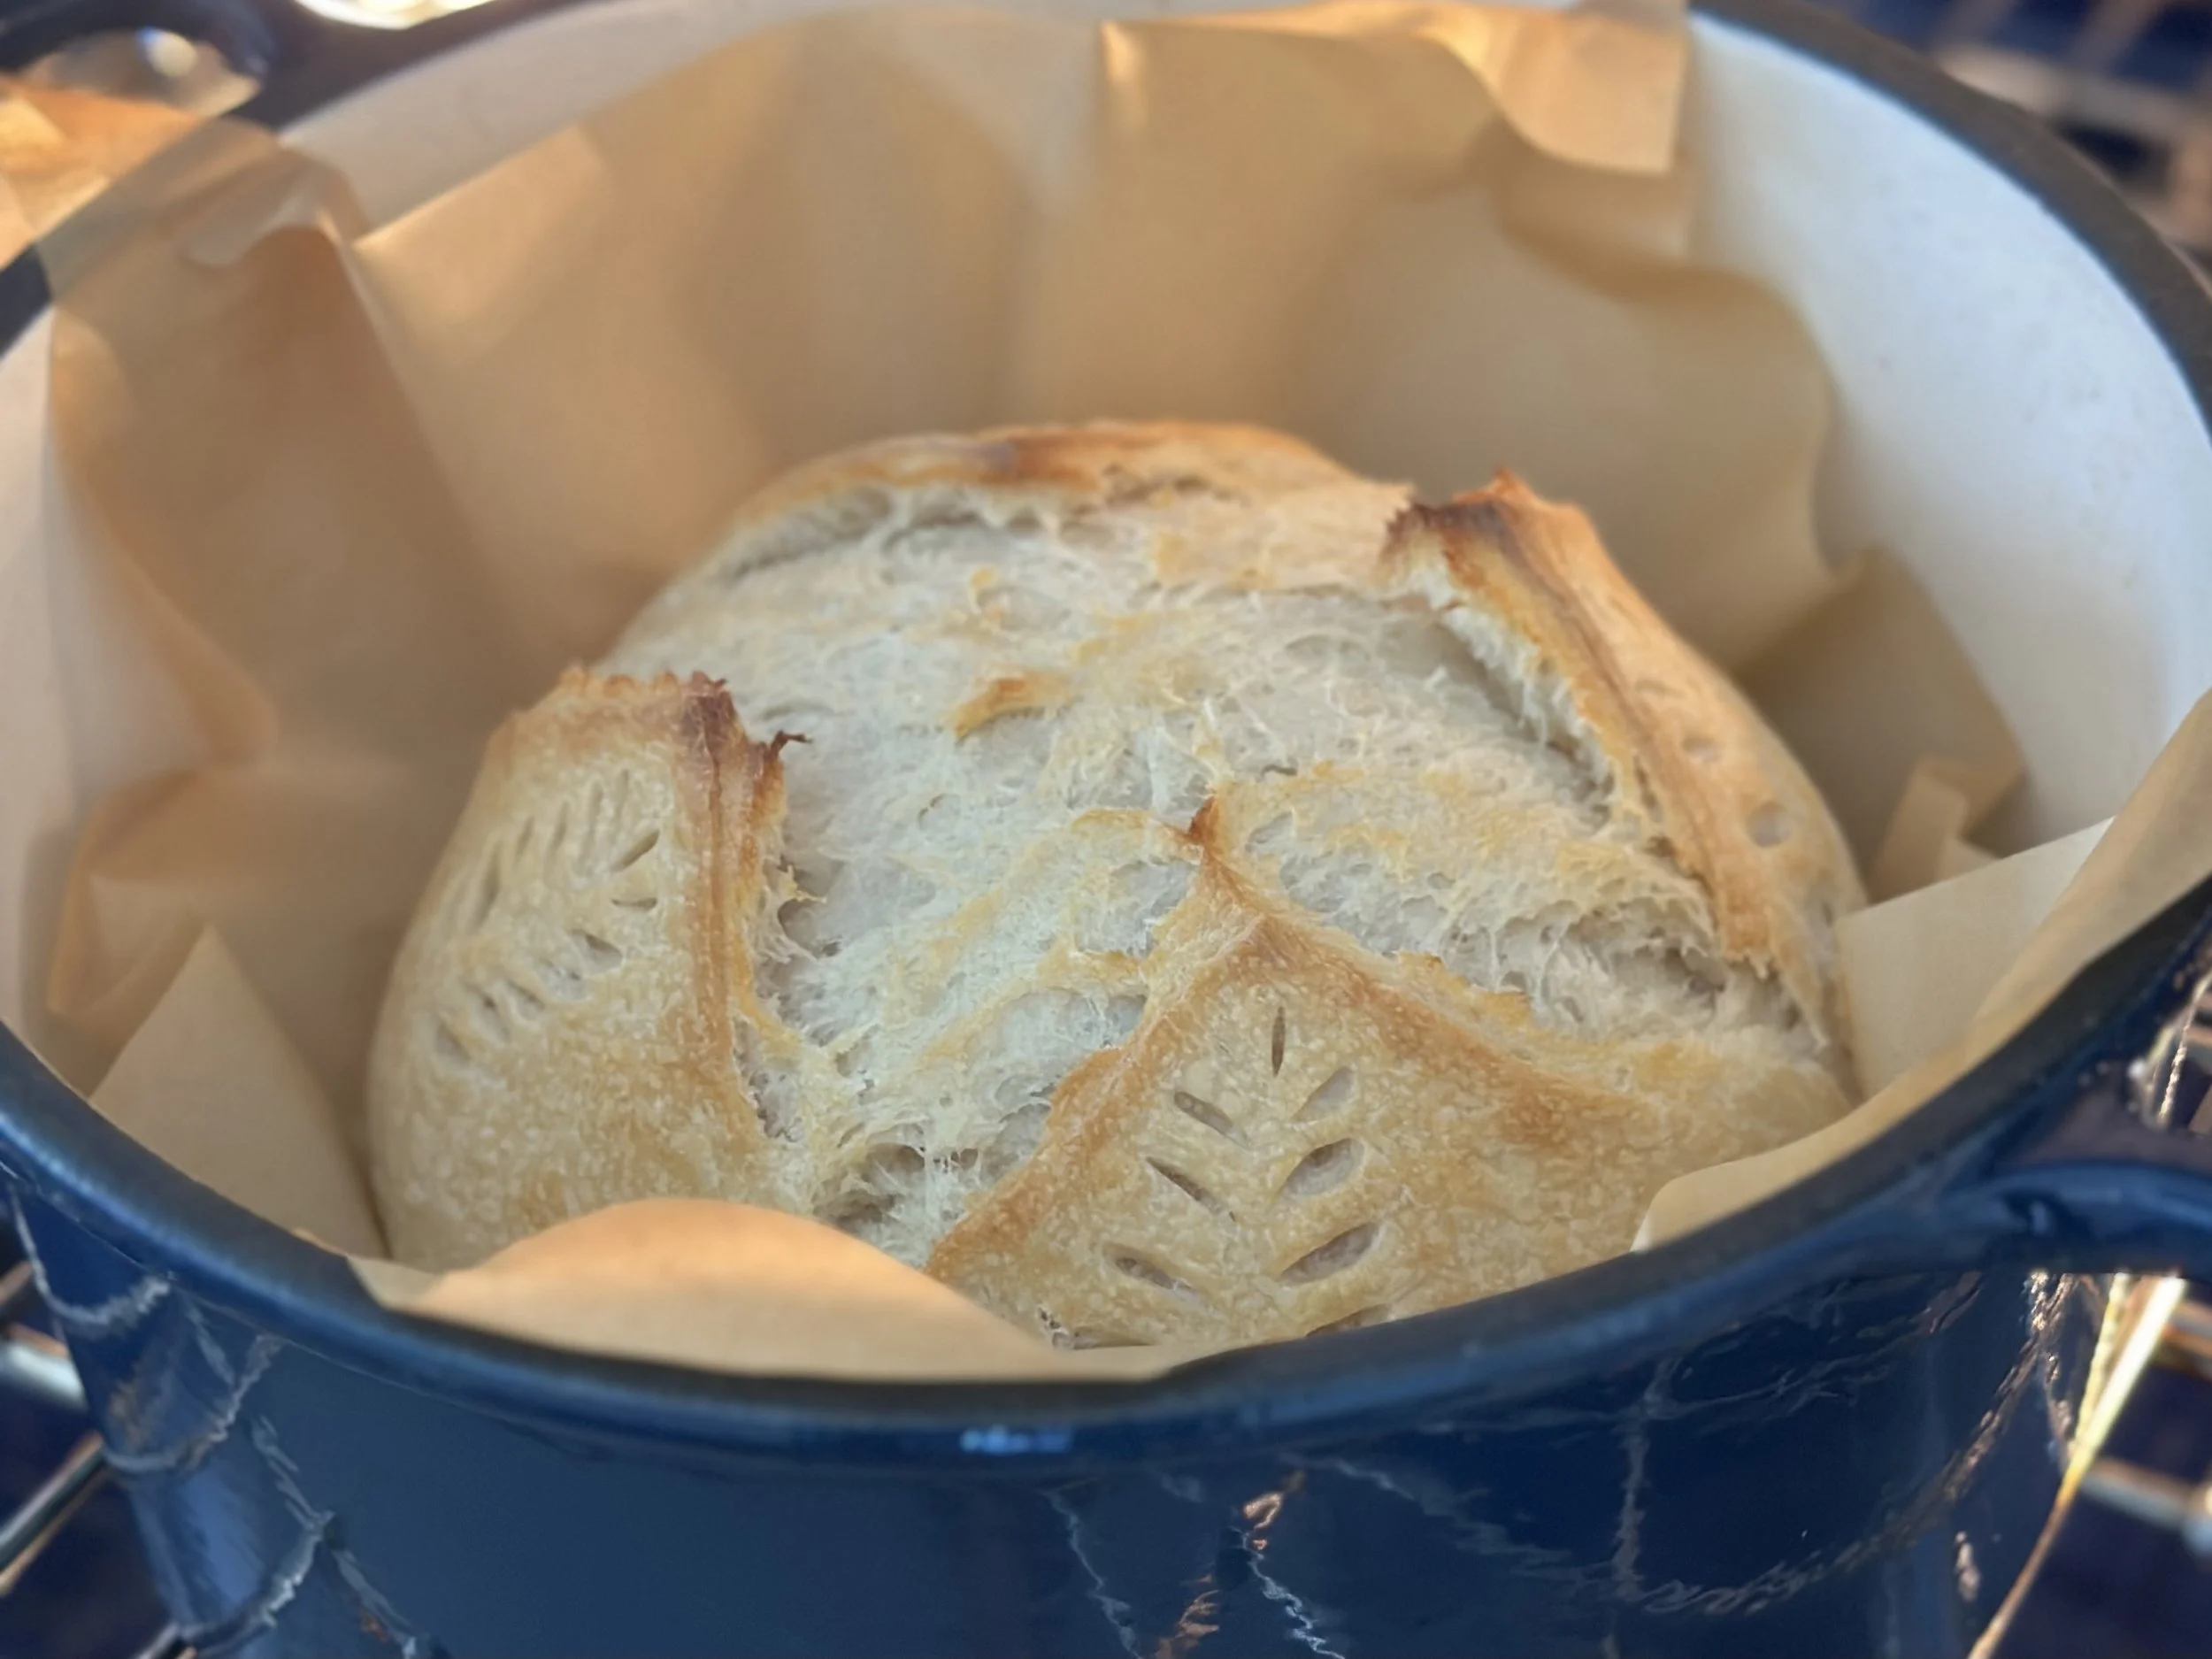
Carefully take the lid off the dutch oven and place the dough in the parchment paper into the dutch oven. At this point, I use a spray bottle filled with water and spray a solid 10 sprays of water onto the dough then place the lid of the dutch oven back on to create a steamy environment for the dough. I lower the temperature of the oven to 425 degrees Fahrenheit and bake for 30 minutes. I then lower the temperature to 375 degrees Fahrenheit and remove the lid of the dutch oven and bake for an additional 15-20 minutes or until the crust becomes a gold brown.
Remove the dutch oven from the oven and carefully remove the bread and place on a cooling rack until cool and ready to be sliced. I used to use a knife to cut my bread, but my son gifted me this slicer for my birthday this year and it has been a game changer.
Baking your own sourdough bread can be extremely rewarding and delicious. I would recommend storing your bread in the freezer as it not only helps preserve your bread but also converts its starches into “resistant starches” which are better for your overall gut health and has other benefits as well.
I hope my recipe helps you with your sourdough journey and makes it a bit easier for you. Enjoy!
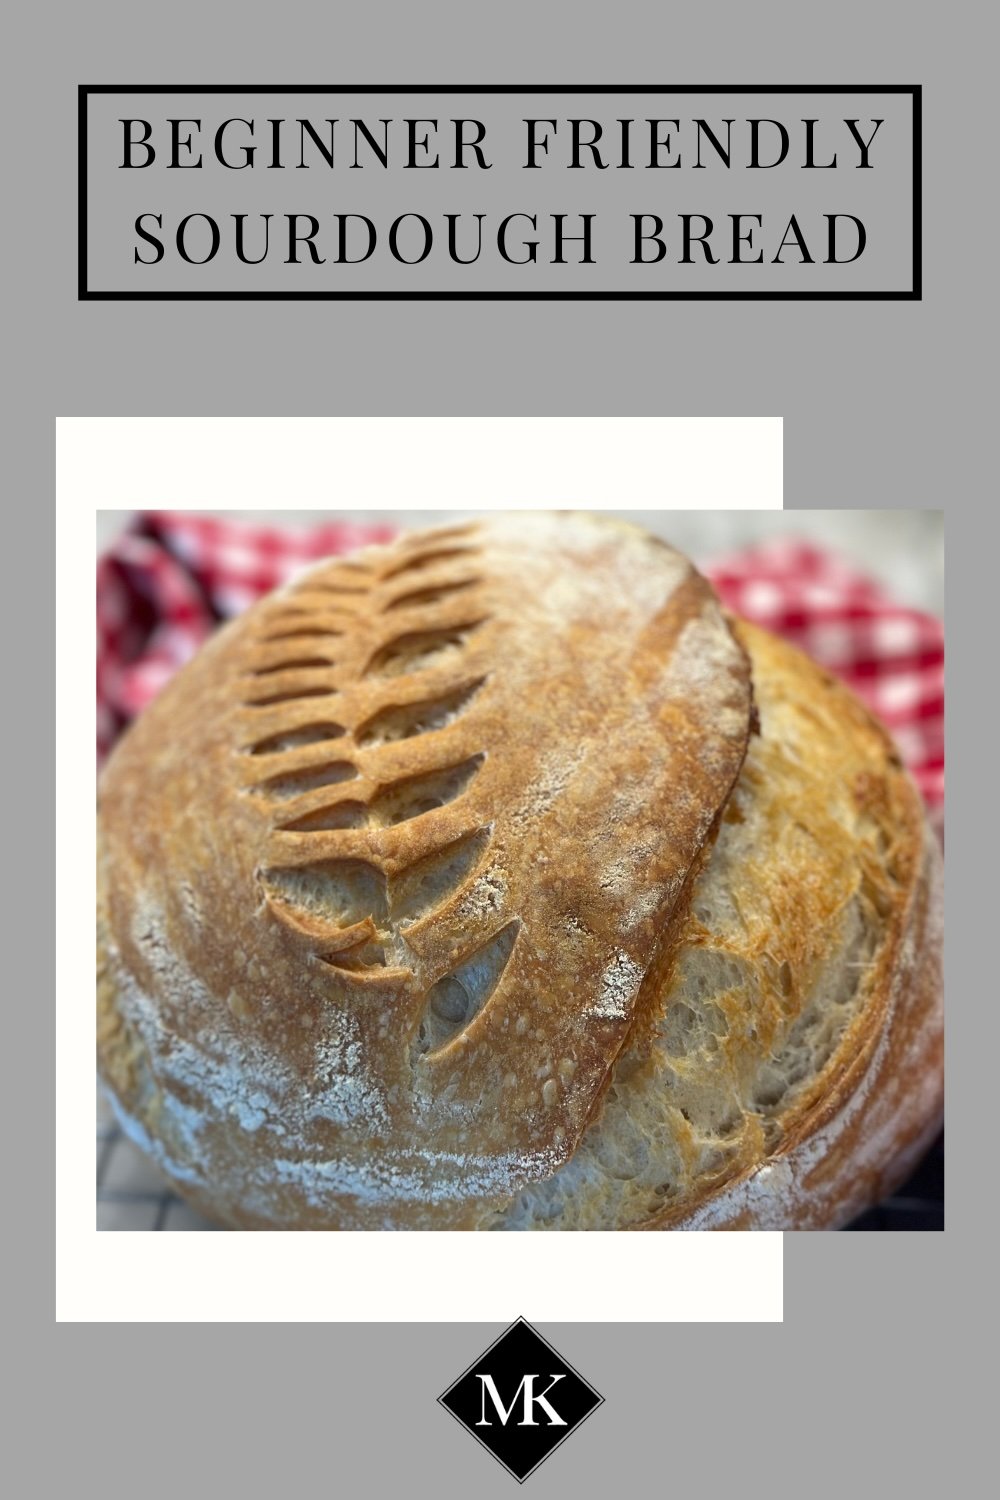
Beginner Friendly Sourdough Bread
Sourdough Bread
